

I've been trying to find some way to decorate this awkward wall. I love all of the extra natural light from the windows, but with our TV smack-dab in the middle there's not much room to do .... anything. The windows are so narrow, a curtain didn't really make sense, so I decided to do some sort of valence. The more I looked into what exactly I needed, I discovered this is technically called a "cornice". I was able to make two of these for about $20! I am so happy with how they turned out. Here's how you can make them too:
Supplies for 2 valences:
Foam board - Hobby Lobby on sale for $4
Batting - twin size, used a coupon and got it for $6, but only used about half of it.
Fabric - heavy cotton, on sale for $6 a yard, I used 1 1/2 yards (46 inches x 45 inches to be exact), but my windows are more narrow than standard windows, so get 2 yards at 45" wide.
Scissors
Exacto Knife
Staple Gun
Hot Glue Gun
4 "L Brackets" - Lowe's, $1.76 for four including the screws.
Measuring Tape
Pencil

I took my large foam board, and traced the measurements I needed before cutting, to make sure it'll all work. I used my Exacto Knife to make a nice straight cut.
2 - 13" x 33"
2 - 2" x 33"
4 - 2" x 13"
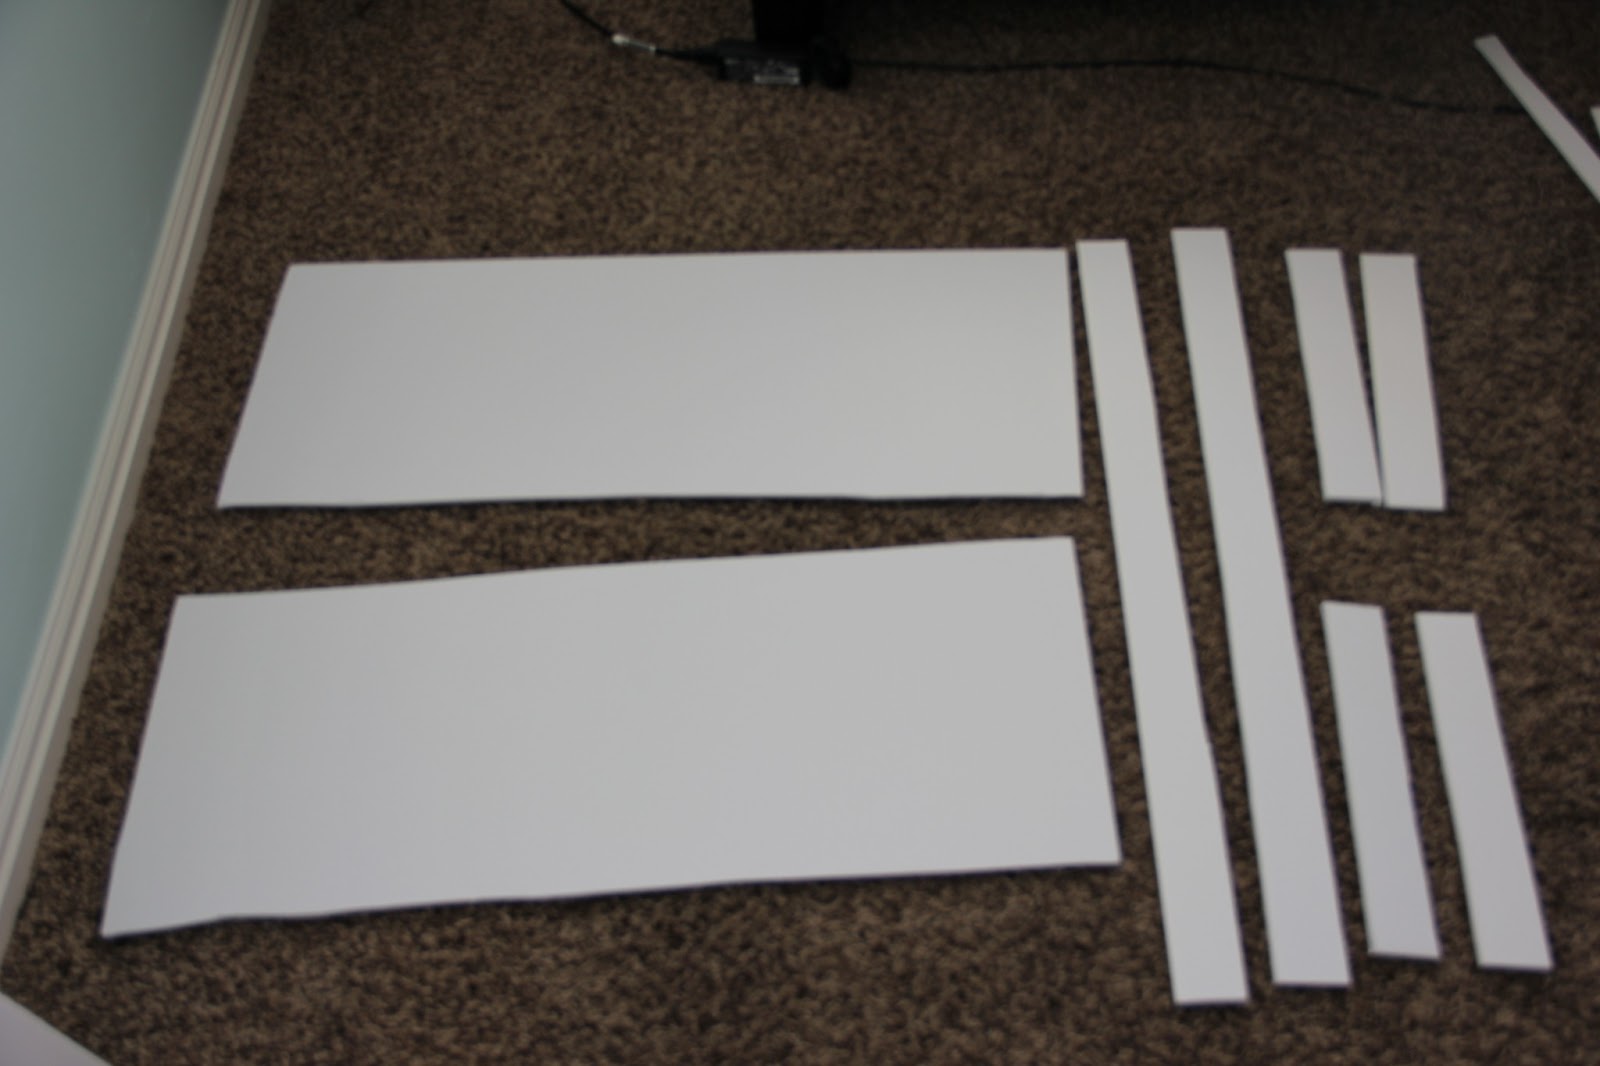
I then used my hot glue gun to take the two 2 x 13 pieces and glued perpendicular on each short end. Then took the 2 x 33 piece and glued all along the top to make it hold in place. Here is my foundation:

I cut a piece of batting (doubled) with the measurements of 23" x 45", giving me extra space on all side to fold it over and staple it tight. I lad the batting down, then the foam board foundation on it's back on top of the batting.

I cut each end as pictured below, so I could fold over the bottom portion:

Then I folded over the bottom, and stapled in place about every 1.5" or so.

Then I did the same thing with each side. Cut the batting so you are able to fold over the side. I trimmed off a lot of the excess batting in the corner. Then pull tightly over the side and staple about every inch. Continue with the other sides until the batting is completely stapled on and tight. Cut off any excess.

I have been looking for a cute print for months, which is why I kept putting this project. But I just couldn't find anything I liked, so I just went with a solid gray cotton. Since my windows are only 29" wide with an extra inch on each side, plus wrapped the fabric around the side piece, 45" wide fabric was perfect for the length. Then for the width I did 23", even though it was only 13" tall, plus wrapping around the top piece, plus a little extra I went with 23". So the fabric (and the batting were 45" x 23"). Make sure to iron your fabric before you staple it on. Do the exact same steps are you did with the batting.

When doing the corners, I pull in one side, and staple. Then fold over the perpendicular side to make a clean looking corner (this may take some practice before you actually staple down).


My valences were done, and ready to hang up! So I measured out where my L brackets were going to go. I did 1.5" out of each side from the, and 4.5" above the window. Then, since the valence was so light I was able to just rest it on top of the brackets.

Ta-da!!


I might add some sort of stripe, or white border. But for now I'm loving having a little something to make the wall not seem to bare!
No comments:
Post a Comment